A while ago the handsome and talented OMFGCo asked me if I could make a buzzer beater game work. I thought I could figure it out, so I told them “I think I can figure it out.” They built it and I wired it.
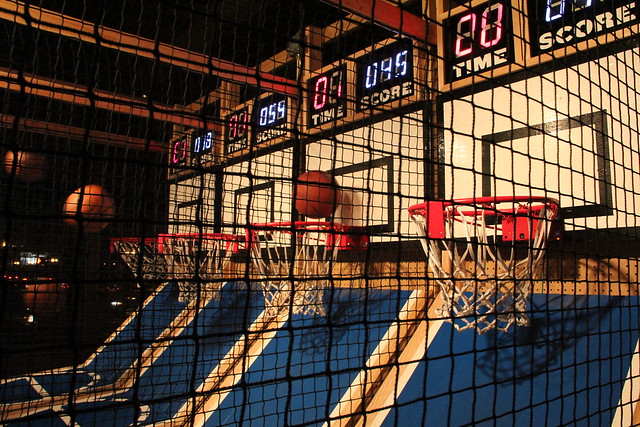
Here are Brad and Jimbo giving it a go. I don’t think these guys know eachother but the Buzzer Beater has brought them together for a fun time.

Now allow me to bore you with how I made it work.
The first version of the wiring was a real mess. Timing was tight so the dudes were building the actual structure at the same time I was trying to figure out the wires and programming. On the night before the place opened they finished the structure and I crammed my circuits into them. It worked but it was buggy and when something went wrong it was a real pain to find out which wire or solder joint or connector or whatever whatever was messing up.
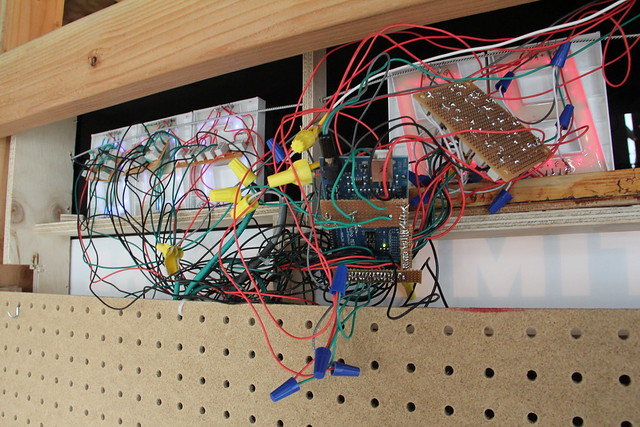
In the above setup I used relays to switch the LEDs on and off, and all told it took 10 connections to get the signal from the Arduino to turn a LED on. Five numbers per lane and seven LED segments per number means that for all four lanes to be working perfectly more than 5500 solder joints have to hold strong. Plus others to keep everything powered and to make the start buttons and multiplayer stuff working.
After a couple months of having balls thrown at it and getting older it was having this or that go out fairly regularly until we decided it’d be worth it to go back and do it right. It meant more work but I was pretty glad to do it so I wouldn’t have to worry about repairs so much. Here’s what the second version looks like.
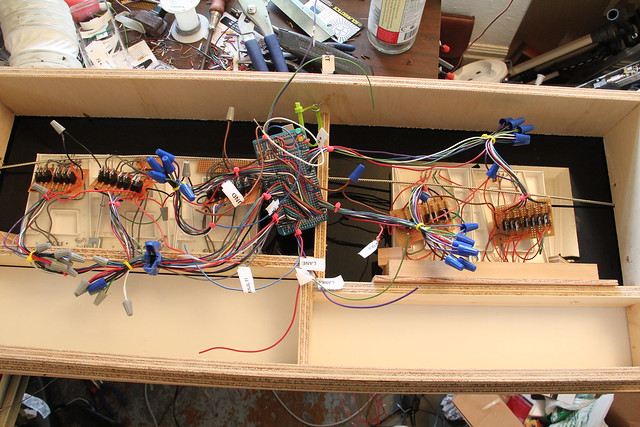
Having the container for it there as I built the circuit helped it come out a lot cleaner.
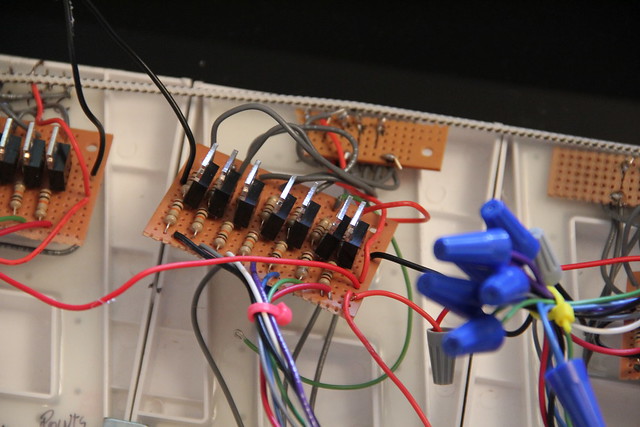
Here is the brain of lane two. Underneath there is an Arduino Mega. By far the most wiring went into getting the numbers to work. Each of those bundles of wires leaving the controls one of the lane’s 5 numbers.
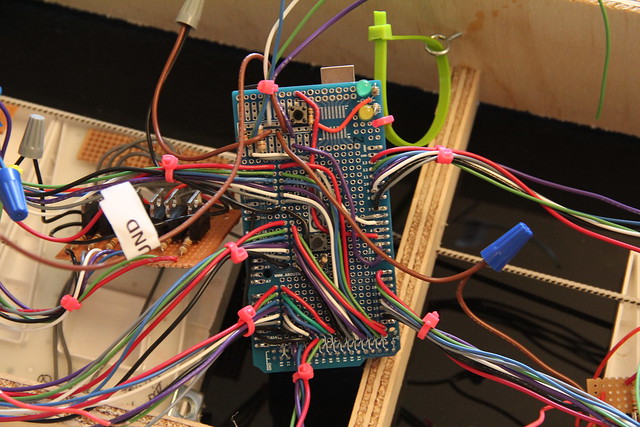
Also in the second version I replaced the relays with transistors. This saved me a couple solder joints per LED and also made problems a lot easier to find because the layout of each LED’s circuit is a lot simpler.
If you’re interested, here is the code I wrote for the Arduino. It turns out I still remember kind of what a state machine is, I used that quite a bit in the coding.
Ok! See you at Spirit of ’77!


